Adding Security Images help page
Adding Security Image(s)
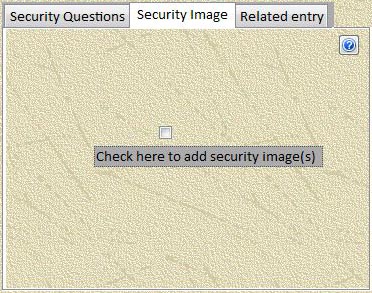
On the Add New Entry form Security Images tab click
the empty check box to add security images to this entry.

On the Add New Entry form Security Images tab click
the empty check box to add security images to this entry.

The Help Button
This Help button will open your browser to this help page.
The Help Button
This Help button will open your browser to this help page.
Return
Browse for Security image file
The first thing the add Security image process does is have you select the image.
Click on the open button below to select and continue.

Return
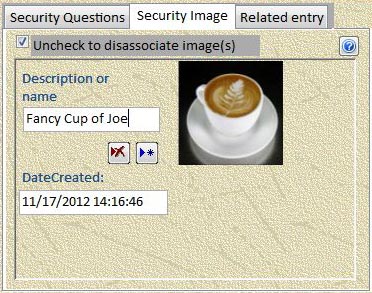
Security image tab with new image
Now that the image is selected the dates are filled-in automatically and you are asked to provide an image name. Just like with
the entry name this is important and if not entered immediately may be requested several times.

On this tab you can now
Return
Replace Security image
If you double click on the image in the Security Image tab the browse for file dialog will be displayed.
What ever image file you select will replace the current image. You can always cancel the process.
Return
The Help Button
This Help button will open your browser to this help page.
Return
Edit Security image name/description
You can edit this field directly an change the name/description associated with the security image.
Return
Delete Security image
Pressing the delete button will delete the entire Security Image entry from this Account Tracker record.
Return
Add another Security image
You can add a second, third or any number if image to be associated with this Account Tracker entry.
If there is more than one security image the small left and right scroll arrow buttons will appear
to the right of the image.
Return
Security image creation date
The creation date is auto generated when an image is first selected. Any changes to this image entry (image or name) will generate
an update date. each security image will have its own pair of creation and update dates.
Return